


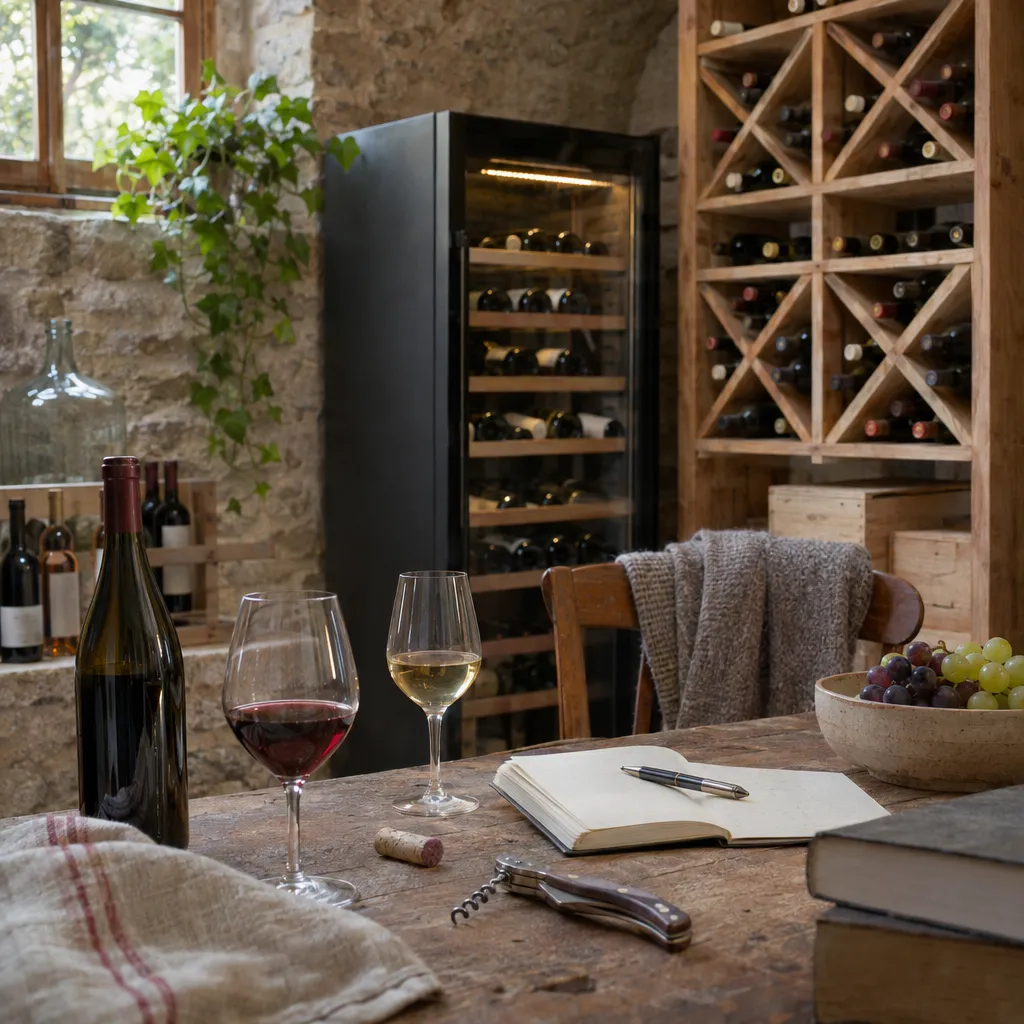
To create your own wine cellar, start by deciding how many bottles you want to store and for how long, then find the coolest, most stable spot in your home and test it before fitting it out. Next come insulation, ventilation, the door and racks, and finally lighting. If no location is suitable, an electric wine ageing cabinet will do the job in any room. Either way, start your inventory with the very first bottle.
The essentials
- Start with your needs: how many bottles, and whether they are wines for ageing or for drinking within the year.
- Test the location over a summer with a minimum-maximum thermometer before doing any work.
- Aim for 10 to 14 °C, 60 to 80% humidity, darkness and a vibration-free environment.
- Allow a third more space than you need: a cellar always fills up faster than expected.
Step 1: what kind of cellar do you need?
Count the bottles you have, add what you buy in a year, and consider how long you want to keep them. For around 50 bottles to be drunk within the year, a small electric wine cabinet is enough. For several hundred bottles, including wines to age for ten years, you will need a proper cellar, either underground or fitted out, or a large electric wine ageing cabinet.
Step 2: choose the location
The best place is an underground basement: the surrounding earth keeps it cool and moderates the difference between summer and winter. Otherwise, look for a windowless room in the centre of your home, or a storage room against a north-facing wall. Rule out the boiler room, kitchen, loft and uninsulated garage, which are too hot in summer and too cold in winter. Our article on wine cellars without climate control explains which locations work best.
Step 3: test the location before fitting it out
Place a thermo-hygrometer that records minimum and maximum readings at the height where the bottles will be stored, and check it weekly for at least one summer. If the temperature stays below 18 °C, with gradual changes, and humidity remains between 60 and 80%, the location is suitable. If the temperature exceeds 20 °C, use it only for wines to be drunk soon, or plan to install a cellar cooling unit. Our article on wine cellar thermometers will help you choose a device.
WITH VINIOU Keep an eye on every bottle Incoming and outgoing stock, and your virtual cellar, at a glance.Step 4: insulate, ventilate and seal
Insulation. In a basement, heat comes mainly through the ceiling and exposed walls: a few insulation panels are often enough. A room converted into a cellar needs insulation on all sides, with a vapour barrier on the warm side.
Ventilation. A low-level air inlet and a high-level outlet on the opposite wall allow air to circulate slowly without warming the cellar. See our article on wine cellar ventilation.
The door. Choose a solid, insulated door with a seal around the edges and a threshold at the bottom: heat often enters through the door.
Step 5: install the racks
Choose materials that withstand humidity and do not give off odours: unfinished, untreated wood, galvanised or powder-coated metal, or terracotta. Avoid chipboard and varnished wood. Allow wider compartments for Burgundy bottles, Champagne bottles and magnums, and a flat area for wooden cases. Our article on materials for fitting out a cellar compares all the options.
Step 6: light the cellar without damaging the wine
Use warm-white LEDs, which produce very little heat and almost no ultraviolet light, controlled by a motion sensor or timer. The rest of the time, the cellar stays dark.
Which solution should you choose?
| Solution | Capacity | Indicative budget | Best for |
|---|---|---|---|
| Fitted-out underground cellar | Several hundred bottles | A few hundred euros (racks, insulation) | A house with a cool basement |
| Fitted-out room with climate control | Several hundred bottles | From a few thousand euros | No basement, large collection |
| Electric wine ageing cabinet | 50 to 300 bottles | €500 to €1,500 for a good ageing cabinet | Flat, medium-sized collection |
To compare electric wine cabinets, our article on wine cabinets by price range explains what is available at each budget.
Step 7: fill your cellar
A good balance to start with: mostly wines to drink within two or three years, a proportion for medium-term ageing, and a few bottles for the long term. Buy the latter in cases of six, so you can open one from time to time and follow their development. Our selection of wines for a long-term collection offers ideas, from great names to reliable, affordable choices.
Step 8: keep an inventory from the first bottle
This is the easiest time to start: the cellar is empty. Record each bottle and its location when it arrives, and each bottle removed on the same day. In Viniou, you can recreate your racks in a 3D cellar plan and add a wine by photographing its label, so you always know what you have and where it is. Premium also shows the drinking window for each wine.
Article written on 01/05/2025 · Updated on 21/11/2026